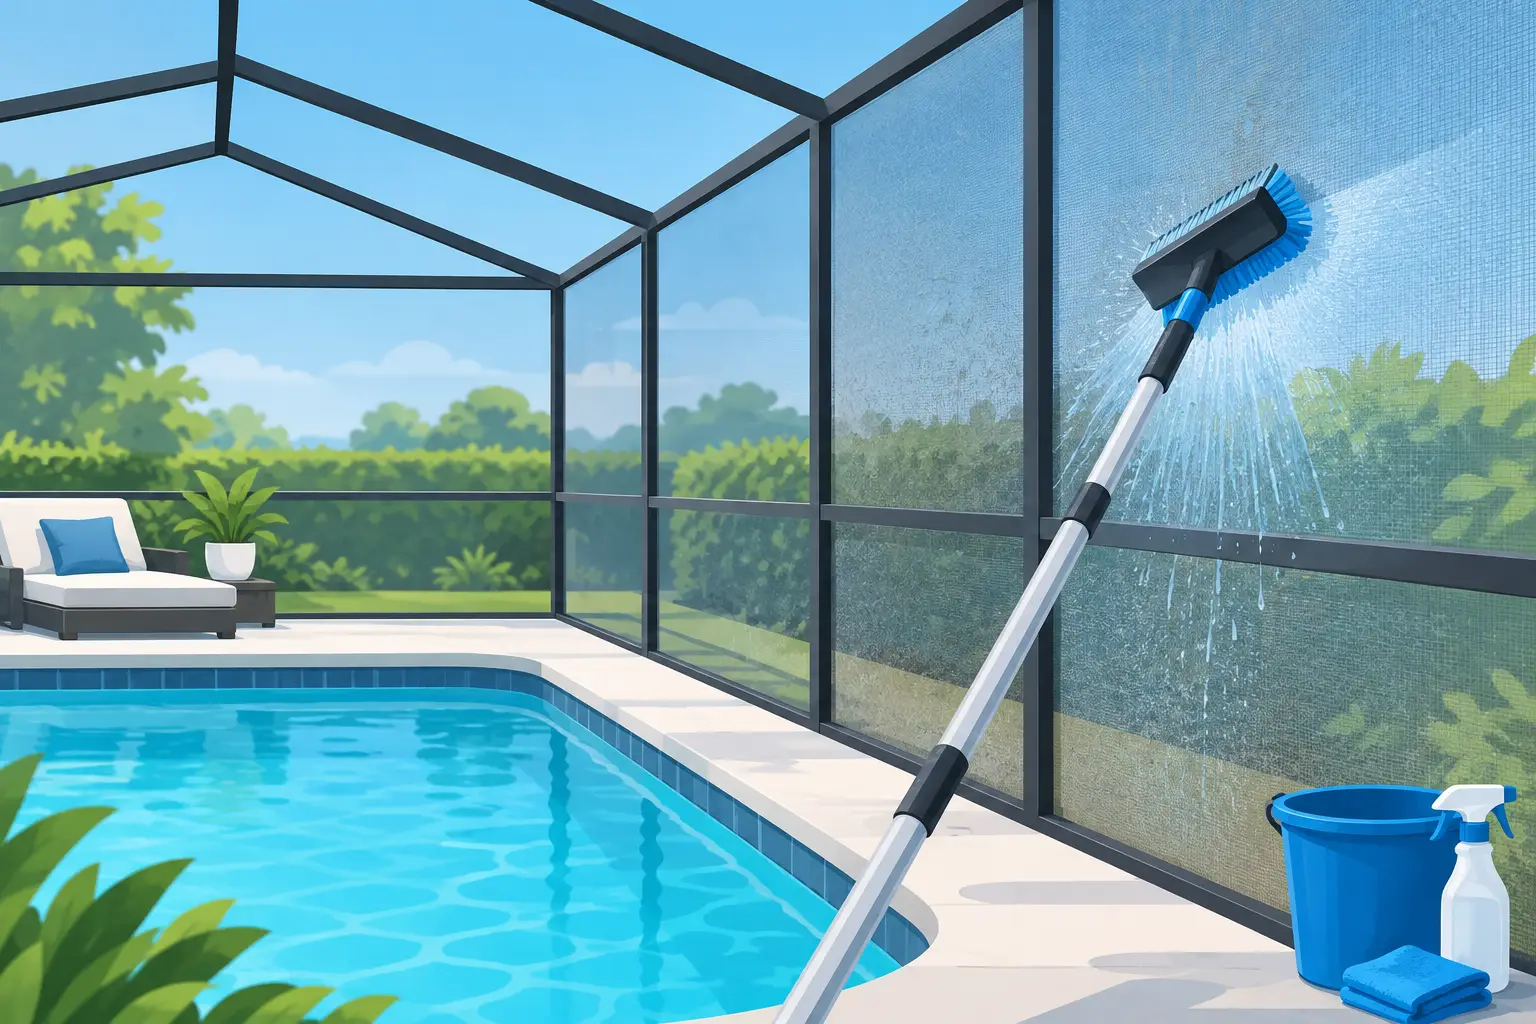
A pool cage can look dirty long before the pool deck does. In Central Florida, humid air, frequent rain, pollen, and shade create ideal conditions for algae, mildew, and airborne grime to collect on the frame, screens, gutters, and roof panels. Knowing how to clean pool screen enclosure surfaces safely helps protect the outdoor space without turning a routine wash into damaged mesh, stained decking, or unwanted pool contamination.
The key is not using the strongest cleaner or the highest pressure. It is matching the method to the screen enclosure’s materials, buildup level, access conditions, and nearby surfaces.
Start by identifying what is on the enclosure
Most pool cages collect a mix of ordinary dust, pollen, spider webs, leaf debris, and organic growth. Black or dark green spotting is often mildew or algae. A chalky-looking frame may be oxidation, which requires more care than standard organic buildup. Rust-colored streaks near fasteners, gutters, or roof lines can point to metal runoff rather than mildew.
This distinction matters because one method does not solve every condition. A light rinse and mild detergent may be enough for seasonal dirt. Established algae may need a carefully diluted cleaning solution and more dwell time. Oxidized aluminum, torn screens, loose fasteners, or aging paint can make aggressive cleaning a poor choice.
Before applying anything, walk the enclosure from the outside and inside. Look for loose screen spline, torn mesh, bent frame members, cracked anchors, damaged door hardware, and areas where roof access would be unsafe. Cleaning does not repair those conditions, and pressure can make them worse.
Choose a low-pressure approach first
For most residential screen enclosures, low-pressure rinsing and soft washing are safer than direct pressure washing. Screen mesh is designed to keep insects and debris out, not to absorb the force of a concentrated spray. Even if the screen does not tear immediately, excessive pressure can stretch it, loosen the spline, or force dirty water into areas that are difficult to rinse.
Use a garden hose with an adjustable nozzle for a preliminary rinse. Start at the highest reachable point and work downward so runoff does not re-soil areas you have already cleaned. Rinse both sides of accessible screens when possible. The inside can hold pollen and mildew that are less visible from the yard.
A soft-bristle brush can help on aluminum framing, but avoid hard scrubbing across the mesh. On screens, use a soft wash mitt, microfiber cloth, or a very soft brush with minimal pressure. The goal is to release buildup, not grind it through the screen fibers.
Use the right cleaner for the surface and buildup
A mild exterior cleaner formulated for painted aluminum and screens is generally the starting point. Follow the product label for dilution, safety gear, dwell time, and plant protection. Do not assume a stronger mix will produce a better result. It may discolor painted surfaces, affect nearby landscaping, or leave residue that needs extensive rinsing.
For organic growth, many professional cleaning processes use a controlled soft-wash solution. The exact product and dilution should be selected based on the amount of growth, enclosure material, screen age, adjacent plants, pool finish, and drainage. This is where a broad do-it-yourself recipe can create uncertainty. A solution appropriate for a durable white aluminum frame may not be appropriate around a weathered bronze finish, delicate landscaping, or a pool with limited water circulation.
Avoid abrasive powders, wire brushes, and cleaners not labeled for the relevant surfaces. Acidic products can etch or discolor metal and concrete. Solvent-based products can create their own residue and safety issues. If you are unsure what caused a stain, test a small, inconspicuous section before treating the entire enclosure.
Protect the pool, deck, and landscaping before cleaning
Pool cage cleaning affects more than the cage. The work area may include pavers, concrete, painted decks, patio furniture, plants, pool water, and exterior walls. Taking a few minutes to prepare the area reduces the chance of avoidable cleanup afterward.
Remove cushions, grills, small décor, and lightweight furniture from the enclosure. Covering items can trap cleaning solution against the surface, so moving them is usually the safer option. Sweep leaves and loose debris from the deck, skimmer area, and gutters before rinsing.
If a cleaning solution will be used, pre-wet nearby plants and keep them wet during the work. This helps dilute incidental overspray. Direct runoff away from sensitive landscaping where practical, and rinse plants again after cleaning. Close or protect outdoor electrical fixtures and avoid spraying directly into outlets, fans, speakers, or pool equipment controls.
Keep an eye on the pool itself. Light overspray or rinse water may be unavoidable, but substantial chemical runoff should not enter the water. If the pool is uncovered, work carefully along the interior frame and rinse in controlled sections. Afterward, check the water for visible debris and maintain normal pool chemistry according to your pool care routine.
Clean in sections, from top to bottom
Large enclosures are easier to manage when divided into small sections. Start with upper framing and roof panels that can be reached safely from the ground or with proper equipment. Apply the selected cleaner evenly, allow only the label-recommended dwell time, then rinse thoroughly before moving on.
Do not let solution dry on the aluminum frame, screen, glass doors, painted walls, or deck. Florida heat can shorten working time considerably, especially on sunny afternoon exposures. It is often better to clean early in the day, work one wall or roof section at a time, and use more water for rinsing than you think you need.
For the lower cage, clean the frame first and the screen second. Wipe door handles, latches, kick plates, and track areas by hand. These details collect body oils, dust, and mildew but can be overlooked when all attention goes to the large screen panels.
Gutters and roof channels deserve attention as well. Clogged debris can cause dirty overflow, staining, and standing moisture. However, roof-level work introduces fall risk. If cleaning requires climbing onto a cage roof, leaning a ladder against fragile framing, or reaching over a pool, stop and arrange professional service instead.
Why high-pressure cleaning can be the wrong choice
Pressure washers are useful for many exterior surfaces, but a pool enclosure is not a single surface. The deck may tolerate a surface-specific pressure cleaning process, while the mesh and coated aluminum frame require a gentler method. Treating the entire area with one machine setting can create uneven results and unnecessary risk.
Direct high pressure can tear screens, strip paint from aging aluminum, dislodge spline, disturb caulk, and drive water behind exterior finishes. It can also blast organic debris onto the pool deck, patio doors, and furniture. A professional may use pressure equipment as part of the overall job, but the method should be controlled and selected by surface, not applied broadly because it is fast.
This is especially relevant for older pool cages. Materials can look intact from a distance while becoming brittle from sun exposure, oxidation, previous repairs, or storm wear. If the enclosure has visible wear, a lower-pressure approach and clearly confirmed scope are the more cautious choice.
Know when to bring in a professional
A homeowner can often handle light seasonal cleaning from the ground. Professional service becomes more practical when there is extensive roof algae, difficult access, a large two-story enclosure, heavy staining, oxidation concerns, or uncertainty about the correct solution. It is also a sensible option when the job includes the surrounding pool deck, pavers, exterior walls, or gutters and needs coordinated methods.
Before scheduling, provide clear photos and the property address so the service provider can review enclosure size, access, roof height, visible buildup, and related surfaces. Ask what is included, whether the service covers the frame and screens on both sides where accessible, how landscaping and pool water are protected, and whether stain removal is included or treated separately.
A defined scope matters more than a vague promise to “wash the cage.” At CurbLuma, pool cage and screen enclosure cleaning is reviewed around the property’s actual conditions so the assigned field professional can confirm the work, access, and pricing before service. That approach creates less upfront risk than paying for an undefined job and discovering exclusions later.
Keep the enclosure cleaner between services
A full cleaning should not be the only maintenance the enclosure receives. Every few weeks, use a hose to rinse pollen from lower screens and remove webs from corners. Clear leaves from roof channels and around the base of the cage after storms. Trim back vegetation that touches the enclosure, since it holds moisture against screens and transfers debris to the frame.
If mildew returns quickly, look at the conditions around the cage. Dense shade, restricted airflow, overhanging trees, and persistently damp areas can all accelerate growth. Cleaning will improve the appearance, but changing those conditions where possible can extend the time between deeper services.
A clean pool enclosure should feel like part of the home, not another surface you avoid looking at. Use a gentle method, protect the surfaces around it, and choose professional help when height, buildup, or material condition makes the work less predictable.